*Disclaimer: All content and information in this blog is for informational and educational purposes only. Last updated on 09/13/2024.

Getting started with wearing a CGM can be seriously overwhelming and if we're being honest, even a bit intimidating.
From the full body sweats while inserting your first sensor to the hyper-awareness of having hardware on your body, getting familiar with a CGM is certainly an adjustment. And just when you’re finally comfortable, there’s the dreaded task of peeling it off. It’s a lot.
Trust us, we’ve all been through it, and we’re here to guide you through the whole process.
Step 1: How to Apply Your CGM
Applying a CGM might feel like a big deal at first, but it becomes second nature with time. Before you know it, you’ll have the process down pat and each step will feel effortless.
Keep these tried and true tips in mind to make your next application smoother:
- Read the Manual: Each CGM has its own application guidelines, so make sure you follow them closely for the best results.
- Prepare the Area: Clean the area thoroughly and let it dry completely before insertion. Alcohol wipes are a popular choice, but soap and water work just fine too!
- Stay Calm: Take a deep breath and stay relaxed. The insertion process is only a tiny pinch!
- Use a Mirror: If you are applying a sensor on yourself, a mirror can help you see what you’re doing and ensure correct placement.
- Consider Pain Relief: If you want to make the insertion process more comfortable, consider using a numbing cream, spray or pain relief device like Buzzy.
- Ask for Help: If you’re unsure about any part of the process or you made an error, don’t hesitate to ask for help. Most CGM manufacturers have 24/7 customer service representatives available.
Step 2: How to Keep Your CGM Secure
We’ve all resorted to questionable hacks to keep our sensors in place–band-aids, PT-tape, you name it. But there are better ways to keep your CGM secure:
- Choose a Spot: Aim for a spot like your belly or back of your arm. Steer clear of areas that get a lot of friction, like where your waistband sits.
- Use an Underpatch: Apply an underpatch to help the sensor stick better to your skin.
- Apply Skin Tac: For extra adhesive power, add a thin layer of Skin Tac and let it dry before applying the sensor.
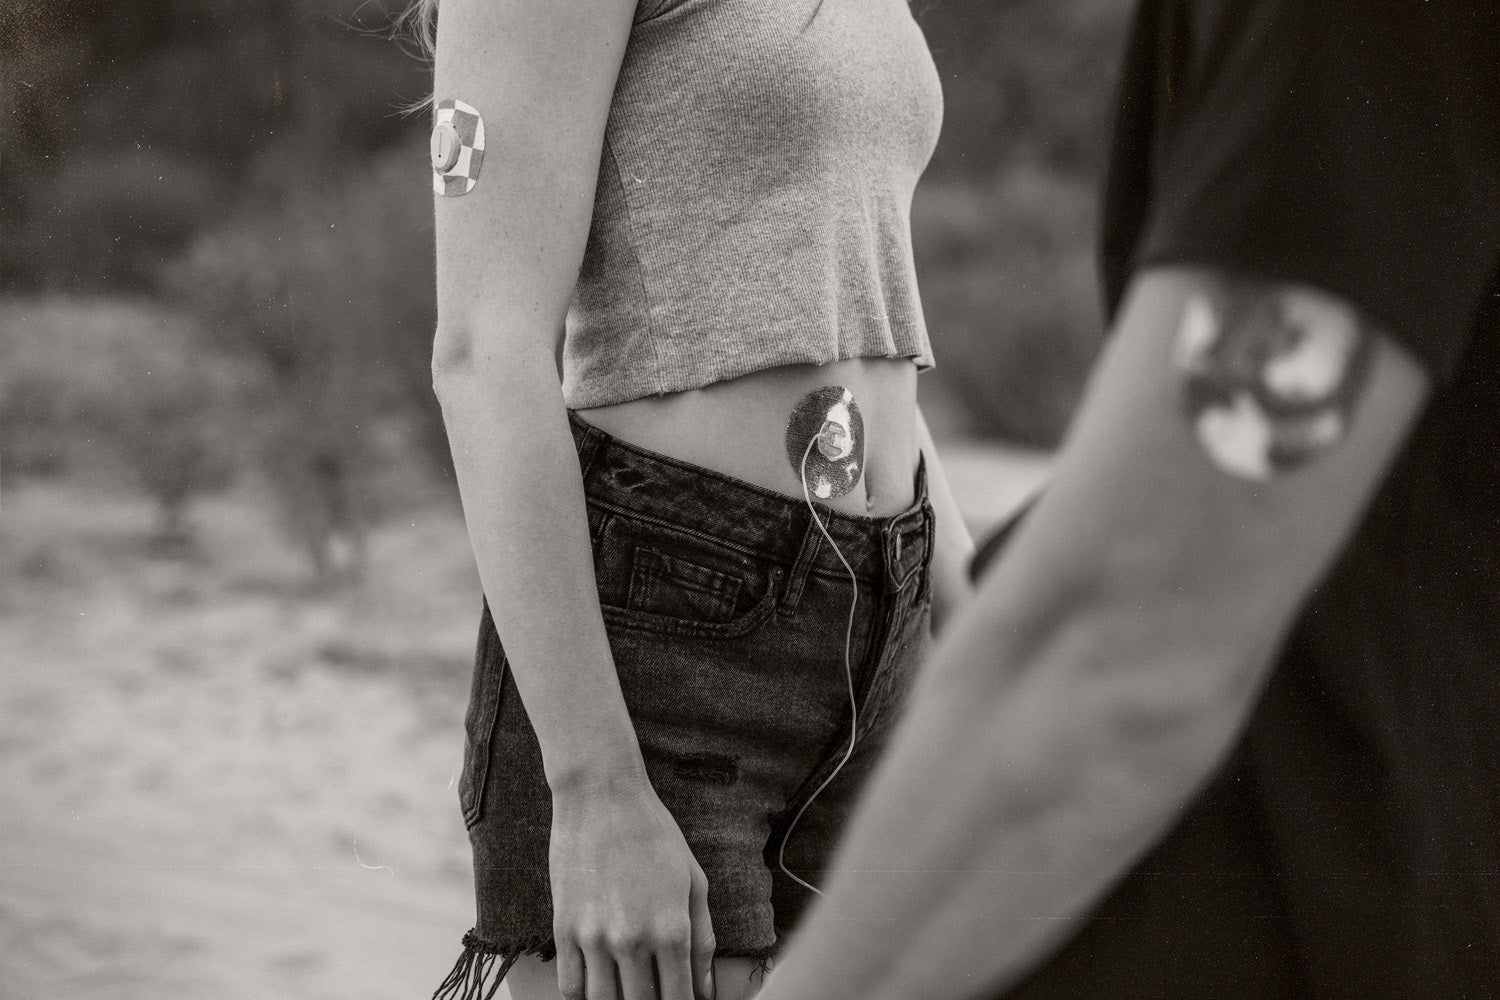
- Use Adhesive Patches: Protect your CGM investment by using high-quality adhesive patches for CGMs for extra support specifically designed for diabetes devices.
- Protect with Medical Tape: If you’re not a fan of adhesive patches, you can use medical tape to reinforce the sensor’s adhesive as needed.
Step 3: How to Remove Your CGM
Removing your CGM doesn’t have to feel like you’re ripping off a layer of skin– even your arm hair can remain unscathed if you follow these tips:
- Use Adhesive Remover: Add some adhesive remover around the sensor's edges and let it soften the adhesive.
- Peel off Gently: Carefully lift the edges of your sensor and peel it off slowly. If it tugs too much, add more remover and try again.
- Clean up: After removal, clean the area with soap and water and apply a hydrating ointment to keep your skin healthy and happy.
Bonus Tips
- Rotate Sites: Switch up your sensor spots to avoid irritating the same area. Your skin will thank you!
- Watch for Skin Reactions: If you notice any redness, itching, or rash, it might be a sign that your skin is reacting to the adhesive. You can try different adhesive products or contact your healthcare provider.
- Practice Makes Perfect: The longer you use a CGM, the more comfortable you’ll become with the process.
Summary
Getting started with a CGM might feel like a lot to handle at first, but with some patience and practice, you’ll soon find your rhythm.
Shop Skin Grip Adhesive Patches


